Author: Keith

  • Blender Fluid Fill Logo Tutorial: Create a Dynamic Liquid Effect in 3D

    Blender Fluid Fill Logo Tutorial: Create a Dynamic Liquid Effect in 3D

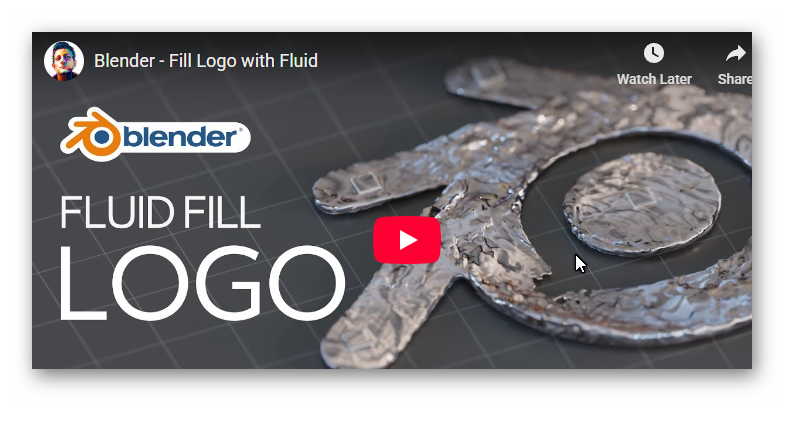
    Blender Fluid Fill Logo is one of the most eye-catching ways to animate a brand identity. If you want to bring your logo to life with a dynamic fluid simulation, this tutorial, “Blender – Fill Logo with Fluid,” walks you through the entire process, from preparing your SVG to setting up the fluid simulation and rendering a stunning final result. Learn the complete workflow to create this dynamic fluid fill logo effect in Blender, covering SVG preparation, the Boolean modifier, and a realistic liquid simulation.


    Phase 1: Preparing Your SVG and Creating the Blender Fluid Fill Logo Imprint

    The first and most critical step is getting your source logo geometry ready to contain the fluid. This is often the part of the simulation that beginners overlook.

    1. Import and Prep (00:00): Open a new file and import your SVG logo. Since SVGs often import as curves, you’ll need to clean up the shape. Be sure to join any elements you want to be treated as a single mesh, scale it up to a manageable size, and extrude it to give it volume.
    2. Convert and Remesh (00:20): Crucially, convert the logo to a mesh (usually done by right-clicking in Object Mode and selecting ‘Convert to Mesh’). Then, apply a Remesh modifier. This step is non-negotiable; it creates a uniform, clean topology essential for preventing artifacts and ensuring a smooth, accurate fluid simulation.
    3. Create the Basin (00:38): Now, we must carve out the internal space for the liquid. Add a simple cube, scale it down to the internal dimensions of the logo, and position it to define the exact shape of the water’s surface. Use the Boolean modifier on your logo object with the cube as the target and the Difference operation. This action permanently carves an imprint in the logo mesh, creating the custom basin where the fluid will sit. Convert the cube object to a mesh and remesh it as well for consistency.

    Phase 2: Configuring the Blender Fluid Simulation Domain

    With the container ready, it’s time to set up the powerful Blender fluid simulation system, known as Flip Fluids (or Mantaflow in modern Blender versions).

    1. Domain Setup (00:56): Add a cube to your scene and immediately apply the Quick Liquid effect (found under the Object menu). This cube automatically becomes the Domain, which acts as the boundary and computational area for the entire simulation. Scale the domain so it perfectly encloses your logo object, leaving a small buffer of space.
    2. Inflow Emitter (01:15): The initial small cube is your fluid emitter. Move it so it sits inside the logo basin. Change its fluid type from ‘Flow’ to Inflow. An Inflow object continuously generates fluid throughout the simulation. For better control over where the liquid appears, you can duplicate this emitter to different points within the logo’s cavity.
    3. Bake Settings (01:25): The quality of your Blender Fluid Fill Logo result depends heavily on these settings. Increase the domain’s Resolution to $\mathbf{200}$ (higher resolution yields more detail but takes longer). Change the bake type to All so the simulation includes mesh data. Finally, set your desired animation length (e.g., set the last frame to $\mathbf{120}$) and hit Bake Data.

    Phase 3: Lighting, Materials, and Final Polish

    A perfect simulation needs a compelling presentation. Use these steps to polish your scene:

    1. Initial Scene Setup (01:40): Add a plane underneath the entire setup to serve as a floor. Enhance the environment by introducing an HDRI environment texture for realistic, diffused lighting. Give the floor a base shader, and initially, give the liquid a simple metallic material for contrast.
    2. Camera and Depth (01:54): Add a camera, set it to an orthographic lens, and apply slight depth of field (DOF). Using a shallow DOF can make the result more professional and draw the viewer’s eye exactly where you want it—to the fluid.
    3. Adding Dynamics (02:02): To avoid a static, glass-like pour, introduce subtle motion. Move the fluid emitters down slightly, and add a Turbulence force field with a value of $\mathbf{0.5}$. This small addition will introduce small ripples and dynamic movement to the fluid surface. Remember to re-bake the entire simulation after adding the force field.
    4. Final Shaders (02:18): Complete the look by giving your floor a detailed material, like a brick texture, and creating a sophisticated, custom metallic shader for the liquid to achieve the final, high-impact Blender Fluid Fill Logo animation.

    The result is a compelling animation where your logo is dynamically filled by a realistic metallic fluid!
    You can watch more videos by KennyPhases here

  • Blender 5 Beta: AWESOME New Features for Game Devs (Instancing, Geometry Nodes & More)

    Blender 5 Beta: AWESOME New Features for Game Devs (Instancing, Geometry Nodes & More)

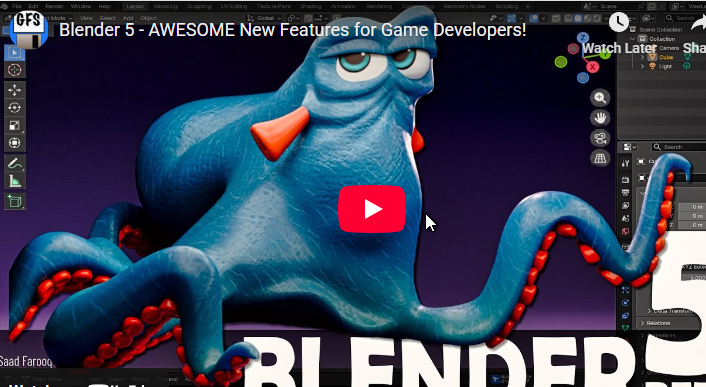
    The Blender 5 beta has shipped, bringing a ton of powerful new tools and updates, especially for game development. While many core improvements are under the hood, this release introduces several Blender 5 new features that dramatically streamline level design, modeling, and workflow efficiency. This update is a huge step toward making Blender an even more powerful environment for creating large-scale 3D assets and game worlds.

    Here are the standout additions that game creators will want to check out in the Blender 5 beta:


    1. Blender 5 Beta: Enhancing Instancing and Level Scattering

    The biggest highlight in the Blender 5 beta is the maturation of Geometry Nodes, which now power several new and more intuitive modifiers, directly translating to faster, more robust Blender level design.

    Instance on Points: Procedural Scattering Made Easy

    This new modifier is a game-changer for level design, allowing you to easily scatter objects (like foliage, trees, or debris) across a surface. You get fine-grained control over the instance density and can fully randomize their rotation, scale, and position to create natural-looking environments quickly. This is essential for procedural asset creation in Blender and significantly reduces the manual effort of populating large scenes.

    Precision Placement with Image Masking

    To control exactly where the Blender instancing occurs, you can use a custom image mask. By painting black and white areas onto a simple map, you can precisely define placement—perfect for keeping trees out of a river or off a road, or confining specific terrain details to predefined regions of your level. This masking capability adds a layer of artistic control to procedural generation.


    2. Superpowered Creation Tools in the Blender 5 Beta

    The Blender 5 beta introduces highly flexible tools that make procedural asset creation and modeling cleanup much easier for artists and developers alike.

    The Flexible New Array Modifier

    This redesigned tool replaces the legacy array and is now far more capable. It can create items in a circle, and—critically—it can instantiate objects along a curve, making it simple to line up fences, railings, or complex modular components along a path. The new Array modifier includes advanced randomization options not found in the previous version, giving artists greater flexibility.

    Blender Curves to Tube: Simplifying Ropes and Pipes

    Need to quickly generate ropes, pipes, or cables? This new modifier allows you to simply draw a curve and instantly convert it into a fully controllable tube, greatly simplifying what used to be a tedious modeling task involving bevels and conversions. This is a massive quality-of-life improvement for hard-surface modeling and environment detailing.

    Non-Destructive Modeling with Blender Lattice Deform

    A standard, non-destructive Blender lattice deform tool has been added. This is a highly useful feature for making quick, complex edits and shape manipulations to a mesh using a simple control cage. Because it is non-destructive, you can apply it as a modifier, easily tweak the deformation, or even stack it with other modifiers without permanently altering the base geometry.


    3. The Developer & Artist Workflow

    The Blender 5 beta includes new features catering to specialized development and creative workflows that are often overlooked in major updates.

    Nostalgia and Detail: Blender Pixel Art Painting

    A new, niche but essential feature for retro game developers is the Pixel Art paint and erase brushes in texture painting mode. These new brushes produce chunky, non-aliased strokes, letting you achieve that classic 8-bit, 16-bit, or 32-bit look directly inside Blender without needing external software. This is a significant time-saver for creating textures that intentionally lack anti-aliasing.

    Rapid Prototyping with the Storyboarding Template

    For prototyping and ideation, a new quick setup Blender storyboarding template is available. It utilizes the new functionality to make visualizing and sequencing your shots simple and fast. This is excellent for pre-visualization before committing to expensive or time-consuming asset creation.


    4. Massive Under-the-Hood Changes for Performance and Code Structure

    For advanced users and technical artists, Blender nodes are evolving into a full programming environment, and core file limits are being shattered.

    Modular Code with Bundles and Closures

    Blender geometry nodes now support the creation of compound data types, called Bundles (like structs), and reusable, modular functions, called Closures. This change allows developers to write cleaner, more sophisticated, and more maintainable node-based code. This shift is turning the visual node system into a genuine programming language for complex procedural generation.

    Updated Blend File Format for Huge Meshes

    The core blend file has been updated to support huge meshes—those with more than a few hundred million vertices—for massive world and scene creation. This update significantly raises the ceiling on scene complexity and detail. Be aware: This update means older Blender versions (pre-4.5 LTS) will not be able to load these new files, so plan your version usage carefully if collaborating.


    5. How to Download the Blender 5 Beta

    The Blender 5 beta is currently available for download via the experimental section of the Blender website. If you’re looking for new Blender tools for artists or interested in testing Blender 5 performance, these new features offer compelling reasons to check out the beta and experience the significant improvements to modeling and level design workflow before the final release. Testing the beta helps the development team ensure a smooth final launch.